Showing posts with label DIY. Show all posts

Friday, May 16, 2014

Patriotic Ribbon Wreath DIY


It's time for BBQs, flip-flops, and three months of patriotic holidays! That's right, Memorial Day in May, Flag Day in June, and Independence Day in July-- the perfect stretch of months for this easy-to-make and beautiful-to-hang flag. Seriously. If you can cut ribbon and tie double-knots, you can make this wreath in just under an hour.


You'll Need:
  • 12-inch wire wreath frame
  • 2 rolls (1-1/2 inch x 4 yard) dark blue ribbon. At Michaels, you can find this in the Celebrate It 360 brand. (Bonus points if you can find this size ribbon with white stars on it! I couldn't!) 
  • 5 rolls (1-1/2 inch x 4 yard) red and white striped ribbon. Again, I found this in the Celebrate It 360 brand. (If you can't find striped ribbon, you can also buy 10 yards of 1-1/2 inch red  and 10 yards of 1-1/2 inch white)
  • scissors
Note: I found all of my materials at Michaels; however, I'm sure that they can be found at other craft stores, too.

Directions: 
  1. Cut your ribbon into strips that are about 6 inches long. If they aren't all exactly the same length, that's okay. Cut your ribbon lengths on an angle
  2. Tape off (or eyeball) a section of the wreath that is roughly 1/4 of your wreath. This will be the blue field of the flag. The other 3/4s will be the striped section. 
  3. Using your 6-inch lengths of blue ribbon, tie a double-knot as tightly as you can. Continue tying double-knots onto the frame until 1/4 of the wreath is covered with blue ribbon. Make sure that the wire frame can't be seen between the ribbon. 
  4. Using the same double-knot technique, add the red and white ribbon to the rest of the frame until the ribbon completely covers it. 
  5. Fluff the ribbon and hang on your door! 


post signature

Friday, January 31, 2014

22 Super Dorky Puns for Care Packages


I have to admit, while I was creating care packages, I would wrack my brain and simultaneously crack myself while coming up with puns. So, on the off chance that there's someone out there who is just as goofy and is looking for some ideas, I've created this round up of every dorky care package pun I used last year. It's just what the interwebz needs! 


post signature

Wednesday, January 29, 2014

Review: Whimseybox (A Subscription Box)

Disclosure: I received product from Whimseybox for a review. I only review and endorse products that I enjoy and believe that my readers will, too. All opinions are my own.  This post contains affiliate links.


Let me cut to the chase: Whimseybox is awesome. It is fantastic. Here's my photographic evidence: 


First of all, the box is beautifully presented. It was all tied up in paper and a ribbon with a gorgeous card. When I unwrapped it, here's what I found:


That's right-- I got to play with clay! More precisely, I learned how to make a textured clay dish. 


Pretty, right? Who woulda thunk?


Because it was air-drying clay, it took about 24 hours for it to be usable. From start to finish, it took me around 20 minutes to create and clean up.


 The box was generous with materials, so I still had a ton of clay left over. I made an "Our First Apartment" ornament for the Christmas tree with a little bit of it. You have definitely not heard the last of projects with air dry clay! 


Did I mention that I absolutely love Whimseybox?! 
post signature

Monday, January 20, 2014

15 Care Package Ideas to Banish the Winter Blahs


I don't know why, but the winter seemed to be the loneliest time for me when John was deployed. Now that I look back on that time, I made a lot of care packages. If you're stuck with your deployment (or know someone who is), here are fifteen different ideas for care packages. Just click on the photo to be taken to the post where I explain what materials I used to decorate and what each package contained. Happy care-packaging! 


And, for the Sochi Olympics...


post signature

Thursday, December 19, 2013

Wedding Ornament Trio DIY


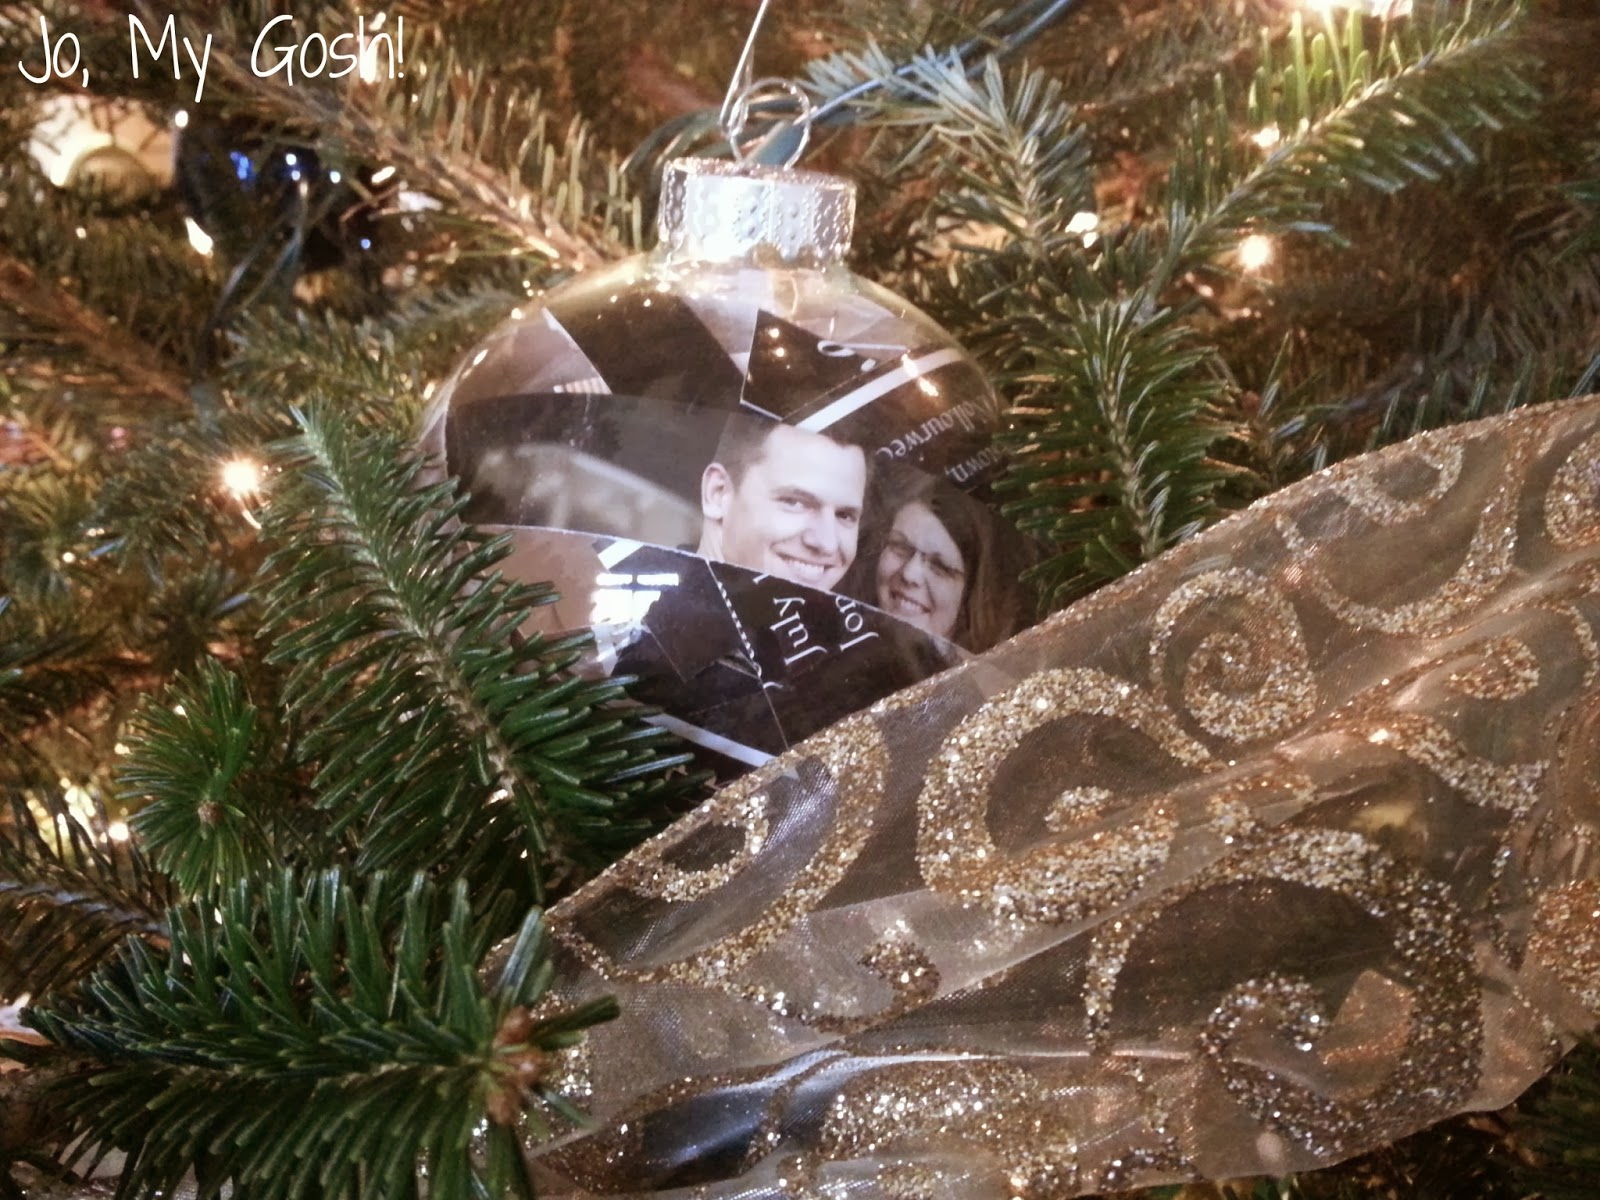
During wedding planning, I ordered a lot of extras when it came to the Save the Dates, invitations, and ceremony bulletins. (I'm pretty sure this is typical, but it makes me feel a bit neurotic to see how much we have left over!) I've kept a few for our scrapbook (which is slowly in the works) and posterity, but there's not too much you can do with 25 extra of anything! 

In an effort to not just pitch them all into the garbage (it seems a little unceremonious to me), I bought some glass ornament balls from Michaels, pulled out my very (un)trusty straight-edge cutter, and immortalized our wedding ephemera.

It is quite possibly one of the easiest DIYs ever. I was done with all three in no more than 20 minutes. 

You'll Need:
  • Scissors or a paper cutter
  • ephemera
  • fill-able glass balls
  • ribbon, pearls, or other wedding decor you have left 
Directions:
1. Cut your paper into strips. I varied my sizes so that the wording from our bulletin and invitation could be read. 
2. Using the straight edge of a scissors, slightly curl the ends of the paper strips. 
3. Remove the metal cap and fill the glass ball with paper strips. (Make sure that the strips face out!) If you have ribbons, pearls, rhinestones, or other bits and pieces from the wedding, you can add them once all of the paper has been used.
4. Reattach the metal cap and hang! 


See? Super easy! And cute, too.

Here's our invitation ornament! 


And our ornament using our ceremony program. For this ornament, I cut the strips around the wedding participants so that the names of the people we love are visible on the ornament.


I've got to confess, though. I think my favorite is our Save the Date ornament.


 I can't wait to hang these on our tree every year!


post signature